If you’ve got the right tools and materials, it’s a piece of cake to set up a single handle faucet! Here’s how to make it happen:
Shut off the water by flipping the valves underneath the sink or cutting off the main water source to the house.
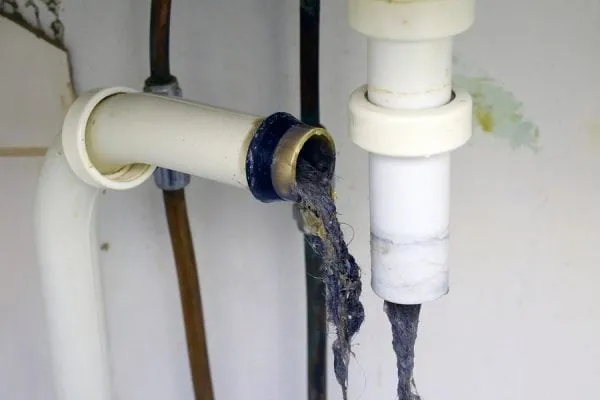
Grab a wrench and loosen the nuts keeping the faucet in place. Gently lift it off and unplug any water lines.
Make sure the sink is clean and dry before you put the baseplate (or escutcheon) on and secure it with screws or adhesive. Make sure it’s level and centered for the best results.
Getting the faucet ready: Connect the hoses to the bottom of the faucet, then place the faucet onto the baseplate and make sure it’s firmly held in place with the nuts and washers. Ensure the faucet is correctly leveled and tightly secured.
Fit the handle: Fasten the handle to the faucet stem, then attach the control mechanism beneath the sink. This is a rare most modern faucets come pre-assembled.
Finish up: Turn on the water supply and have a look see if the faucet is dripping water. If all is good and nothing’s leaking start to clean up.
This guide should give you a concept of the stages engaged in putting in a single handle faucet. Nonetheless, each faucet could have slightly distinct instructions, so be sure to stick to the maker’s directions carefully. In case you have any doubts about any element of the installation, it’s always best to call an ace plumber for help.
Tags: Plumbing, Plumbing Tips, Faucet, Faucet Installation, Diy, Diy Plumbing